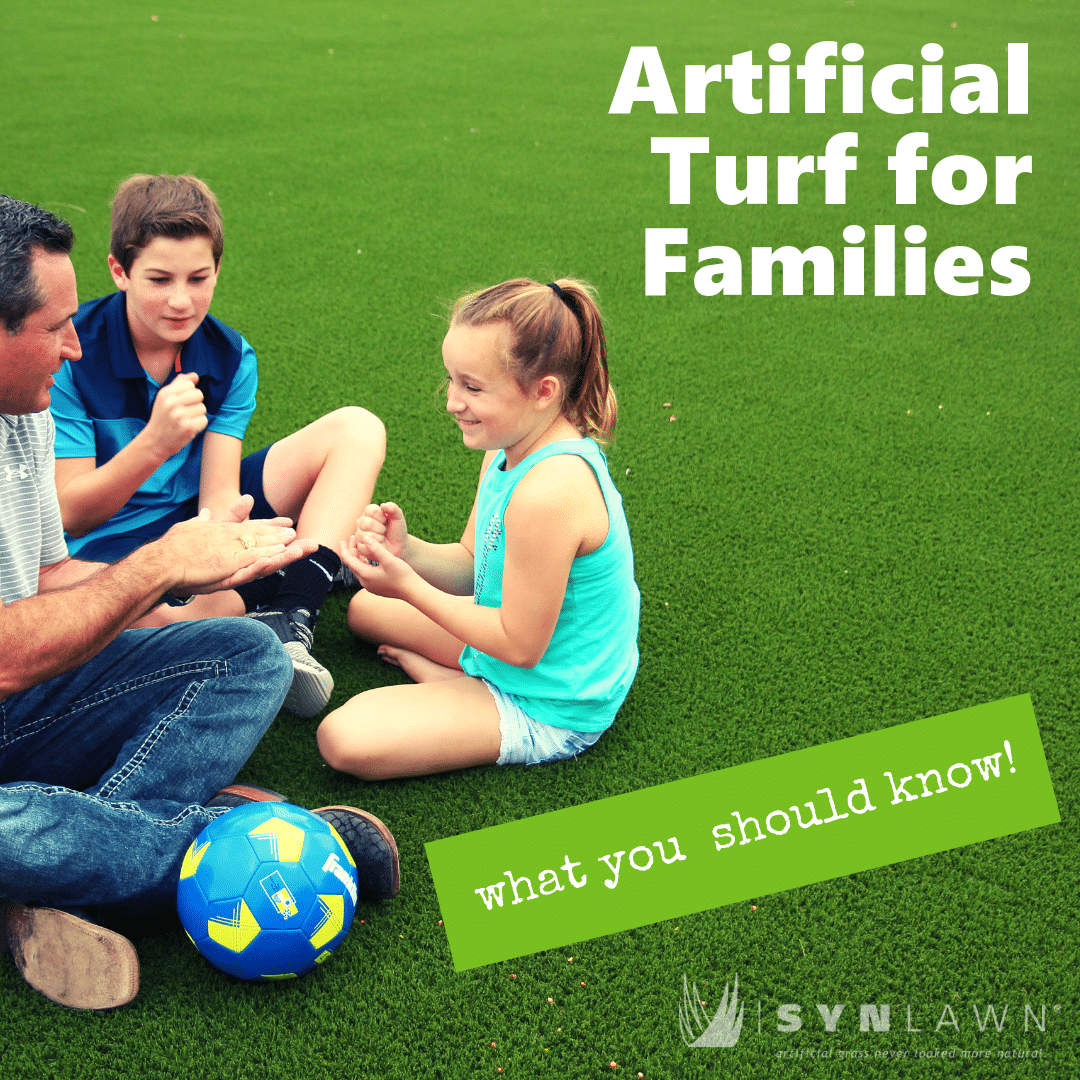
Artificial Turf for Families – What You Should Know
What Every Family Considering Artificial Turf Should Know
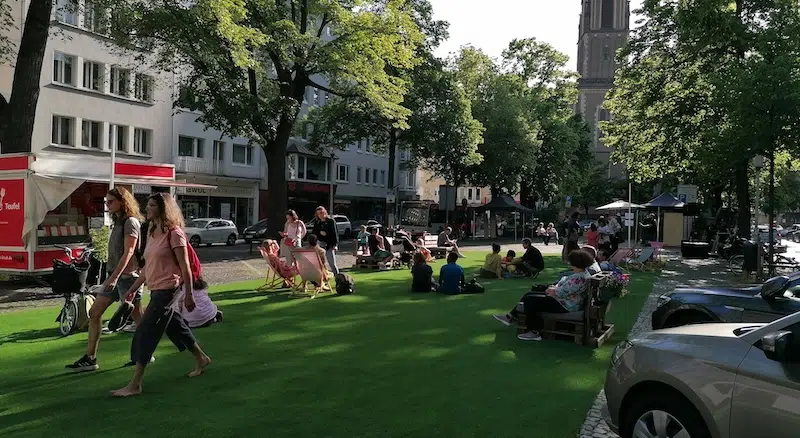
Considering artificial turf for families? Homeowners should be sure they are fully informed about not only the product but also how the new grass will impact their lives. Before choosing synthetic grass for the home, homeowners should know all the facts to avoid the risk of choosing an inferior product that does not serve their needs.
Choose a Quality Product – Artificial Turf for Families
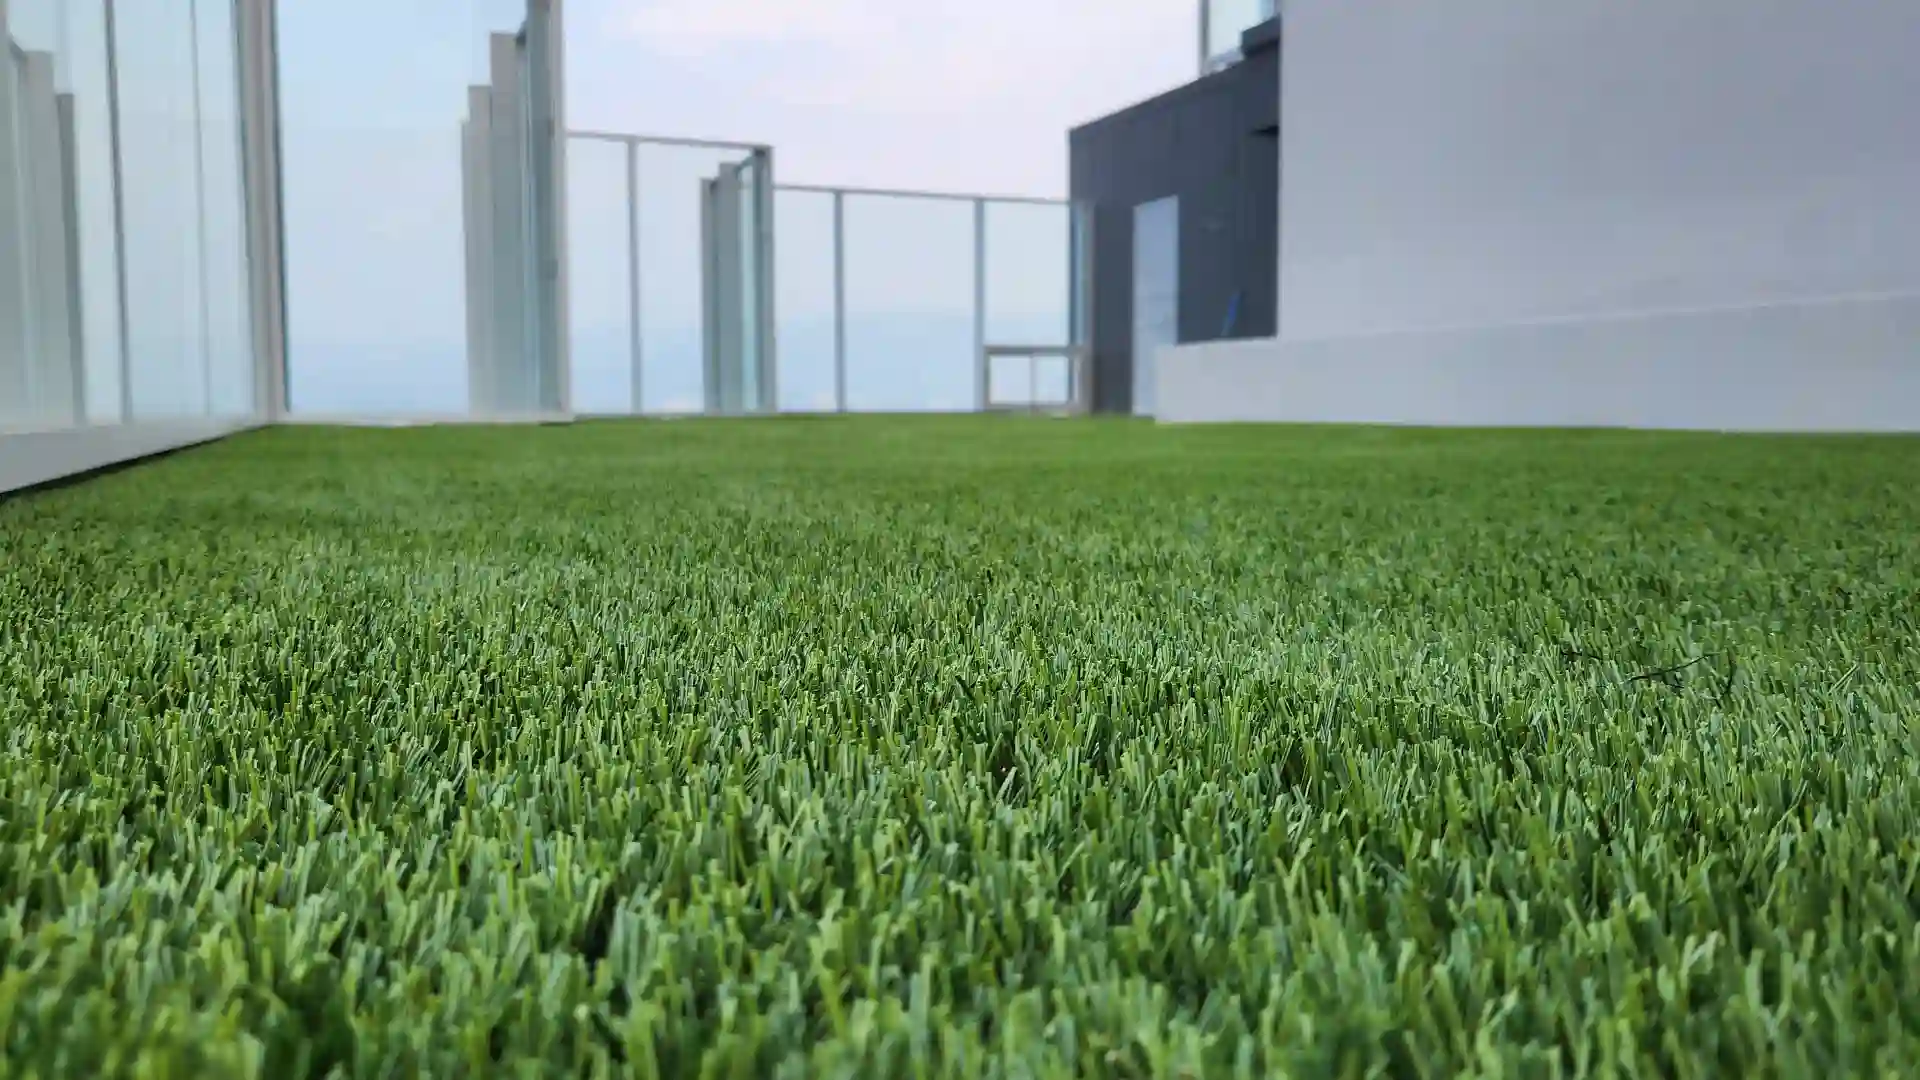
Before settling on a company for artificial turf application, homeowners should educate themselves on the different products available, evaluate their needs, and then choose a product that is capable of handling those needs without fear of product failure. Some considerations include where the turf will be used, the realism of the synthetic grass, how well the grass drains, and the ingredients used to manufacture the grass.
SYNLawn® is an innovative company offering safe and clean synthetic grass for landscaping. SYNLawn continues to research and develop a high-quality product for homes, sports fields, commercial properties, playgrounds, and the like.
Choose a Good Contractor
In addition to choosing a quality, long-lasting product, homeowners should carefully choose a contractor. Homeowners should choose a company who specializes in synthetic grass installations, with contractors who are trained and experienced with artificial turf with an STC Certification. This helps ensure homes look immaculate and polished when the work is complete.
Additionally, homeowners should check the contractor’s license. Any contractor who is not licensed puts homeowners at risk of potentially life-changing damages. Homeowners should also check the Better Business Bureau for any contractors they are considering to ensure they are working with a professional who provides good customer service.
Consider Pets – Artificial Turf for Families
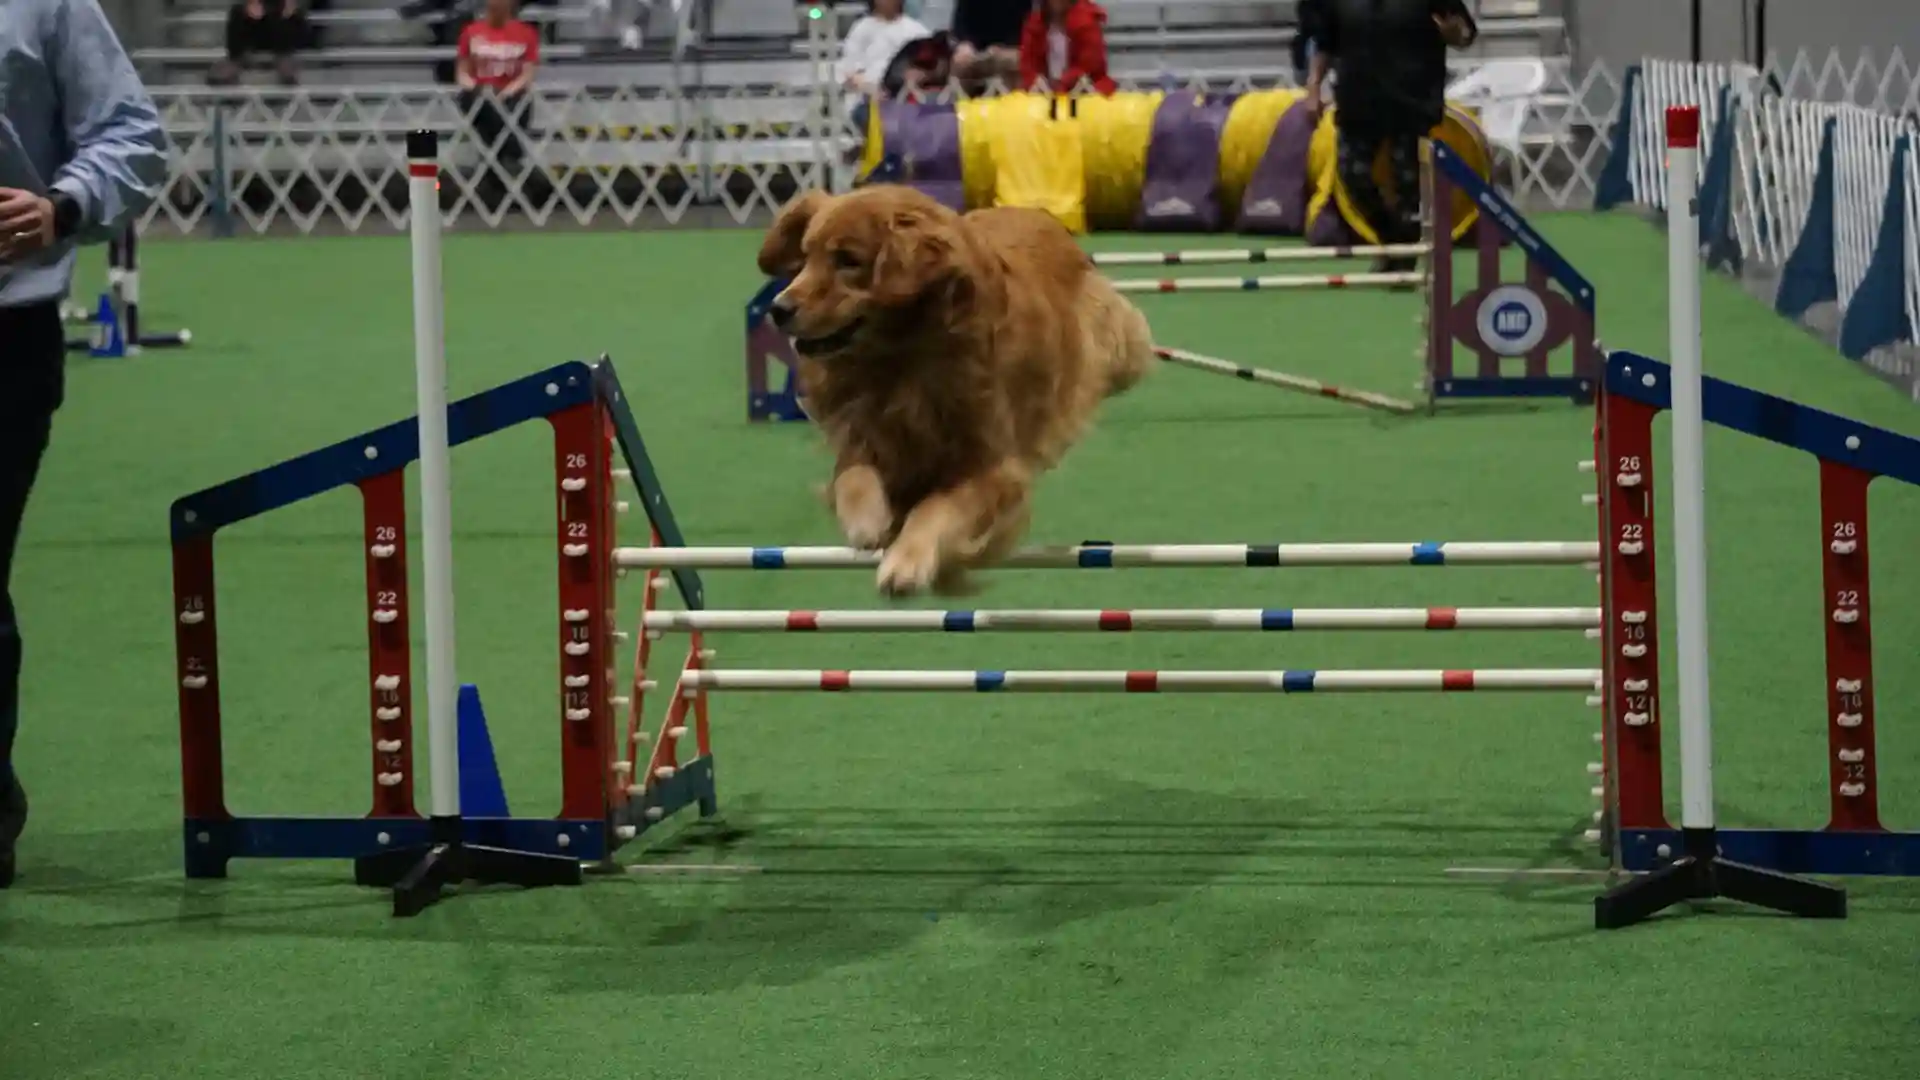
Another consideration for homeowners is whether or not they have or intend to have pets on the lawn. Those who own dogs and cats are some of the most interested in synthetic grass installations due to health issues natural lawns can cause to animals. Choosing the correct turf is crucial for pet owners. The type of grass blades will need to hold up to any abuse a dog or cat can cause. Drainage is also paramount when dogs and cats will be regulars on the synthetic grass.
For homeowners concerned with synthetic grass and their pets, keep in mind that many animal care facilities install synthetic grass in the pet care areas to create a safer and healthier environment for the animals.
SYNLawn is a bio-preferred, plant-based, USDA-Certified product. For green living enthusiasts, 60 percent of the petroleum is replaced with soybean oil. Unlike AstroTurf, SYNLawn creates a product made from sugar cane and infill from crushed walnut shells, making it a safe option for families.